🪵 Introduction: Why Herringbone Parquet is a Timeless Favorite
Herringbone parquet flooring is one of the most iconic and visually striking wood patterns in interior design. With its classic zig-zag layout and elegant symmetry, it elevates both traditional and contemporary spaces. From historic European villas to modern loft apartments, herringbone continues to captivate homeowners, architects, and designers.
If you’re thinking of installing this luxurious flooring yourself—or simply want to understand the process—this guide will take you through every step of laying herringbone parquet flooring, from prep to finish.
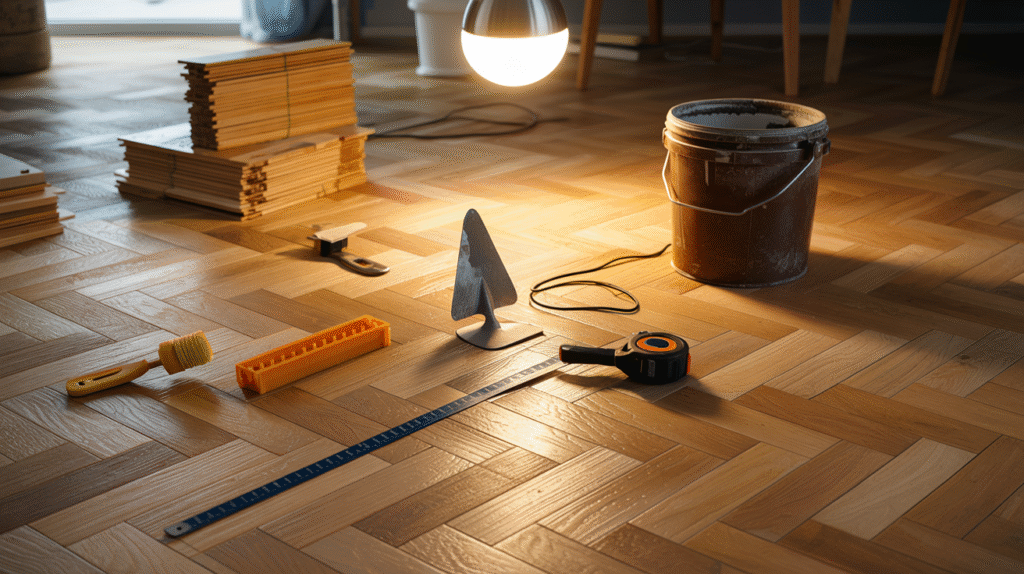
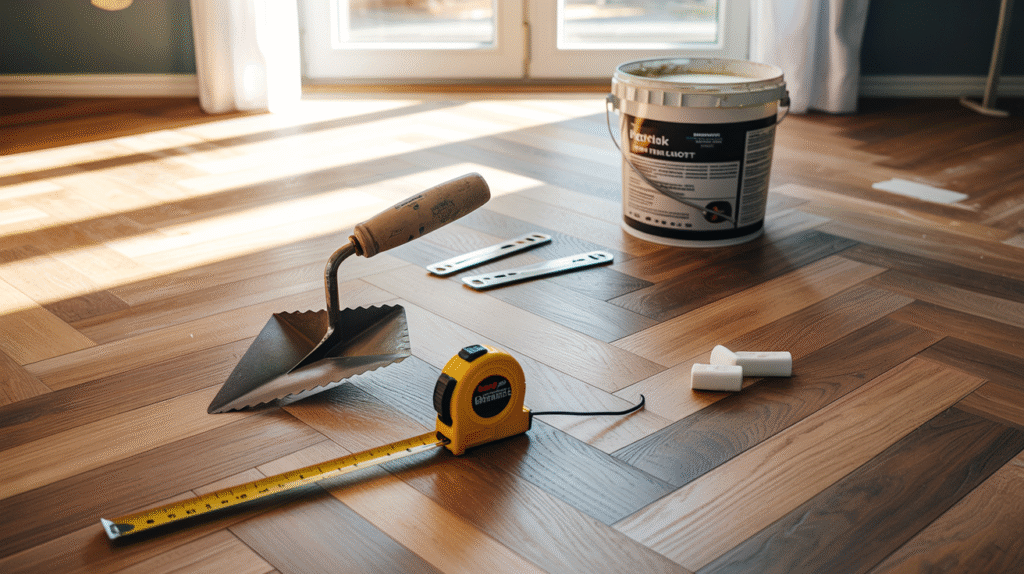
🧰 What You Need: Tools and Materials Checklist
Before you even begin, make sure you have all the tools and materials at hand. Laying herringbone requires precision, so don’t cut corners on equipment.
🧱 Materials:
- Herringbone parquet blocks (pre-finished or raw)
- Flooring adhesive (PU or MS polymer for wood)
- Moisture barrier membrane (if on concrete)
- Underlay (if applicable)
- Expansion spacers
- Primer (for subfloor prep)
- Finishing coat or lacquer (if using raw wood)
🛠️ Tools:
- Flooring trowel (notched)
- Chalk line kit
- Spirit level or laser level
- Rubber mallet
- Tape measure
- Carpenter’s square
- Floor roller (for adhesion)
- Saw (mitre or table)
- Pencil or marking chalk
- Vacuum cleaner (for dust control)
- Knee pads and gloves
📏 Step 1: Prepare the Subfloor
A successful herringbone installation starts with the subfloor. Whether you’re laying over concrete, plywood, or existing flooring, the base must be:
- Clean
- Dry
- Flat (within 2–3mm over 2 meters)
- Structurally sound
Use a moisture meter to confirm your subfloor’s moisture level:
- Wood subfloors: Below 10–12%
- Concrete: Below 3% (or follow adhesive guidelines)
If you’re installing on concrete:
- Apply a liquid damp-proof membrane or lay a moisture barrier sheet.
- Prime the surface with an appropriate subfloor primer.
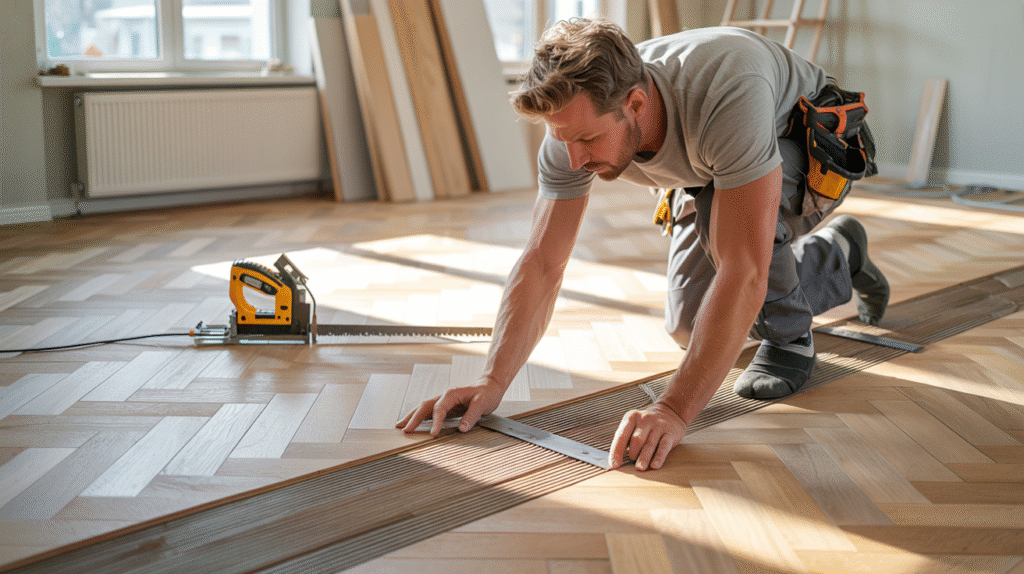
🧮 Step 2: Measure the Room and Plan Your Layout
The beauty of herringbone lies in its symmetry—so planning your layout and centerline is absolutely critical.
Find the Room Center:
- Measure the room’s width and length.
- Use a chalk line or laser level to draw two intersecting centerlines.
- This will be your main reference point for laying the first row of herringbone blocks.
Choose Your Pattern Direction:
- For visual depth, align the pattern with the longest wall.
- For classic style, set the V-shape pointing toward the room entrance.
- Avoid small edge cuts by adjusting layout slightly from the center.
📐 Pro Tip: Do a dry layout with 10–12 blocks to test spacing, alignment, and proportions before committing with glue.
🧱 Step 3: Start With a Batten (Optional But Recommended)
To ensure a straight and stable starting point, many pros use a temporary wooden batten:
- Screw it along your centerline at a 90° angle.
- This will support the first few rows and maintain geometric alignment.
- Remove it once the adhesive has set, and fill the gap with herringbone blocks.
This is especially helpful for DIYers looking for precise results without a laser-guided system.
🧴 Step 4: Apply the Adhesive
Now it’s time to stick things down. Using your notched trowel:
- Spread adhesive over a small section (about 1–2m²).
- Don’t cover more than you can lay in 15–20 minutes to avoid premature curing.
- Follow the adhesive manufacturer’s open time and working time.
Avoid walking over freshly laid areas—adhesion strength is highest when untouched during initial curing.
🪚 Step 5: Lay the First Few Herringbone Blocks
- Begin at your batten or centerline.
- Apply the first block with its long edge along the centerline, and a second block at a right angle to it.
- Press each block firmly into the adhesive and use a rubber mallet for a tight fit.
- Use spacers for a consistent expansion gap around the room’s perimeter (10–15mm).
- Keep checking alignment with a straightedge every few rows.
It’s easy for small errors to accumulate over time, especially in patterned installations.
⏱️ Step 6: Continue in Sections
Herringbone takes longer to install than straight planks. Don’t rush it.
- Work in manageable adhesive sections.
- Wipe off excess glue with a damp cloth immediately.
- Use a floor roller every 2–3m² to ensure full contact and eliminate air pockets.
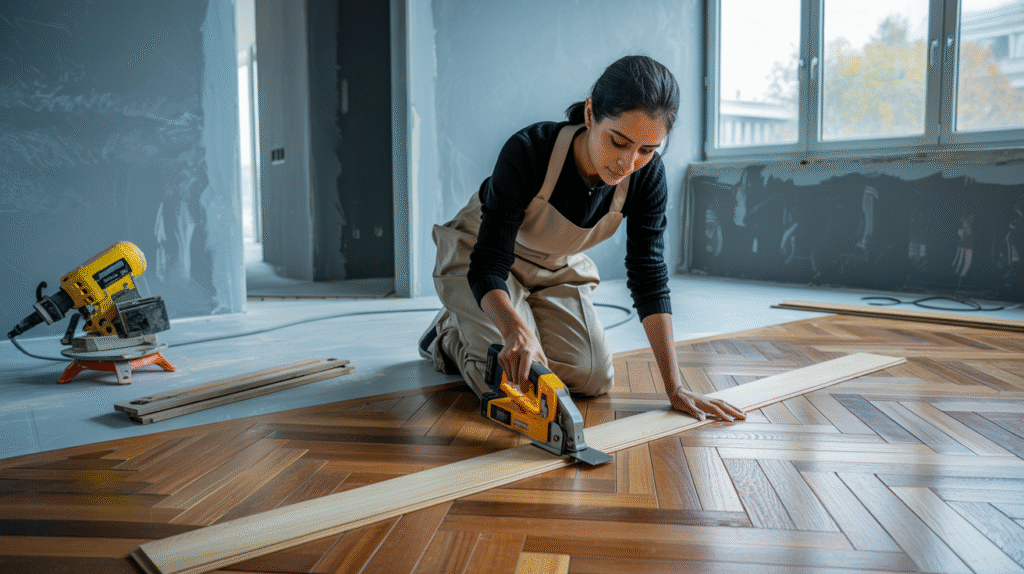
🧩 Step 7: Cut and Fit the Perimeter Blocks
Once your main pattern is laid, you’ll need to cut herringbone blocks to fit the edges of the room. This step is time-consuming but critical to a clean finish.
✂️ Cutting Tips:
- Use a mitre saw or table saw with a fine-tooth blade for clean cuts.
- Cut each block individually to ensure an exact fit, especially in uneven walls or older buildings.
- Maintain the same expansion gap (10–15mm) around the entire perimeter.
- Label tricky cuts with painter’s tape for orientation before installing.
Some installers use templates made from cardboard to trace corner shapes or tricky profiles.
🛑 Never force a block into a space—it could shift the pattern or pop up later.
🚪 Step 8: Navigating Around Obstacles
Real homes aren’t perfect rectangles. You’ll likely have to work around:
- Radiator pipes
- Door frames
- Vents or floor outlets
- Kitchen island legs
📏 How to Handle It:
- Use a jigsaw or multi-tool to cut around obstacles.
- Always measure twice and dry-fit before applying adhesive.
- For radiator pipes, drill a hole slightly larger than the pipe and make a V-cut to fit the piece around it.
Finish off with pipe roses or wood filler to hide gaps if needed.
🪵 Step 9: Sanding (Only If Using Unfinished Wood)
If you chose raw wood herringbone blocks, you’ll need to sand the floor before sealing.
🧽 Sanding Process:
- Use a belt or drum sander for large areas.
- Edge sanders help get close to walls.
- Begin with grit 40, then move to grit 60 and grit 100 for a smooth finish.
- Vacuum all dust before applying finish.
⚠️ Be careful with over-sanding—parquet blocks are often only a few millimeters thick on the surface layer.
If you installed pre-finished blocks, skip this step completely.
🧴 Step 10: Seal and Protect the Floor
Raw wood needs protection from moisture and wear. You can choose from:
1. Oil-Based Finish
- Enhances grain, gives warm amber tone
- Slower drying
- High durability
2. Water-Based Polyurethane
- Clear finish, maintains natural wood color
- Quick drying, low odor
- Often used in modern interiors
3. Hard Wax Oil
- Natural look, breathable finish
- Requires more maintenance
- Environmentally friendly
Use a roller or brush and apply 2–3 coats, lightly sanding between layers with grit 220 sandpaper.
Allow at least 24–48 hours before moving furniture onto the floor.
🧼 Step 11: Clean and Maintain
A newly laid herringbone floor looks spectacular—but keeping it that way requires regular care.
Daily & Weekly Maintenance:
- Vacuum or sweep daily with a soft brush attachment.
- Use a damp mop, not a wet one—avoid water pooling.
- Use wood floor-specific cleaners (avoid ammonia or bleach).
Long-Term Tips:
- Place felt pads under furniture legs.
- Use area rugs in high-traffic zones.
- Reapply finish every few years (for oil or wax floors).
- Avoid dragging heavy objects across the surface.
🧠 Remember: Scratches show more easily in patterned floors, so prevention is key.
🧪 Step 12: Post-Installation Checklist
Before calling the job complete, run through a quick checklist:
✅ Are all blocks securely bonded with no loose pieces?
✅ Is there a consistent expansion gap around the perimeter?
✅ Have all perimeter blocks been neatly cut and fitted?
✅ Are transitions to other rooms smooth and level?
✅ Have you applied at least 2 layers of finish?
✅ Is the room free from dust and ready for use?
This final review ensures your floor doesn’t just look good—it will also perform and last for decades.
❌ Common Mistakes to Avoid When Laying Herringbone Flooring
Even experienced DIYers can make costly errors during installation. Below are the most frequent mistakes and how to avoid them.
1. Starting Without a Layout Plan
Many beginners jump into laying blocks without a defined centerline or dry run. This leads to:
- Misaligned rows
- Gaps at edges
- Wasted materials
Fix:
Always create a chalk centerline, dry-fit the first rows, and double-check orientation.
2. Skipping the Moisture Test
Wood expands or contracts depending on the environment. Installing without a moisture check can cause:
- Buckling
- Warping
- Cracks
Fix:
Use a moisture meter and apply damp-proof membranes when required.
3. Forgetting Expansion Gaps
Tight-fitting parquet against walls or fixtures can lead to cupping or peaking.
Fix:
Leave a 10–15mm gap around all room edges, pillars, and thresholds.
4. Using the Wrong Adhesive
Using water-based or low-bond adhesives not rated for wood flooring can result in:
- Lifting tiles
- Poor acoustic performance
- Shortened floor lifespan
Fix:
Use PU or MS polymer adhesives made specifically for parquet and wood substrates.
5. Rushing the Job
Unlike laminate or click flooring, herringbone parquet requires:
- Precise cuts
- Time for adhesive to cure
- Strategic planning
Fix:
Set realistic expectations: full-room installation can take 2–3 full days, excluding finishing.
📊 Budgeting and Time Estimates
Laying herringbone flooring can be more expensive than standard plank styles due to complexity.
| Category | DIY Cost Estimate | Pro Installer Cost |
|---|---|---|
| Materials (per m²) | $30–$70 | $30–$70 |
| Adhesive & tools | $4–$8/m² | Included in quote |
| Labor (per m²) | $0 | $30–$50 |
| Finishing (if raw) | $3–$6/m² | $6–$10/m² |
| Time (for 25m² room) | 3–5 days (DIY) | 1–2 days |
Note: Prices vary by region, material type, and substrate condition.
🛠️ DIY vs. Professional Installation
Let’s break down the pros and cons of each approach:
🧑🔧 DIY
Pros:
- Save money on labor
- Customize at your own pace
- Satisfying project for skilled DIYers
Cons:
- High skill requirement
- Mistakes can be expensive
- Slower process
🧑🏭 Professional
Pros:
- Faster turnaround
- Cleaner finish
- Warranty and accountability
Cons:
- Higher upfront cost
- Less flexibility with timing or design changes
🧠 Verdict: If it’s your first time and the room is large or complex, hiring a professional might be more cost-effective long-term.
🌡️ Climate and Environment Considerations
Herringbone parquet reacts to temperature and humidity. To ensure long-lasting results:
🔄 Acclimate the Wood
- Leave wood blocks in the room for 48–72 hours prior to installation.
- Keep in original packaging but open the boxes to air out.
🌦️ Consider Seasonal Movement
- In humid climates, wood may swell during summer.
- In dry winters, it might shrink slightly.
- This is why expansion gaps are essential.
🔥 Underfloor Heating
Herringbone can be installed over radiant heat systems, but keep in mind:
- Only use engineered parquet (not solid wood)
- Keep subfloor temperature below 27°C (80.6°F)
- Follow the system’s warm-up and cool-down protocol
- Use compatible adhesives that handle heat flexing
🧽 Long-Term Maintenance Tips for Herringbone Parquet Floors
After spending time, energy, and resources on installing your herringbone parquet floor, it’s crucial to maintain its beauty and functionality over the years.
🧼 Daily & Weekly Care
- Vacuum regularly with a soft brush attachment to remove dirt and grit.
- Use a slightly damp mop—never wet. Excess water can seep into the joints and cause damage.
- Wipe spills immediately using a dry or damp cloth.
- Avoid harsh chemicals; always choose a cleaner specifically formulated for wood floors.
🪑 Preventing Scratches & Dents
- Use felt pads under all furniture legs.
- Place entryway mats to trap debris before it reaches the floor.
- Avoid wearing high heels or shoes with sharp soles indoors.
- Consider using area rugs in high-traffic zones.
🔁 Re-Coating and Refinishing
Even the best-sealed floor will show wear over time.
- Oil-finished floors: May require re-oiling every 1–2 years.
- Lacquer/polyurethane finishes: Can last 5–7 years before needing a fresh top coat.
- Always follow the manufacturer’s recommendations.
If the wood becomes deeply scratched or discolored, consider professional sanding and refinishing.
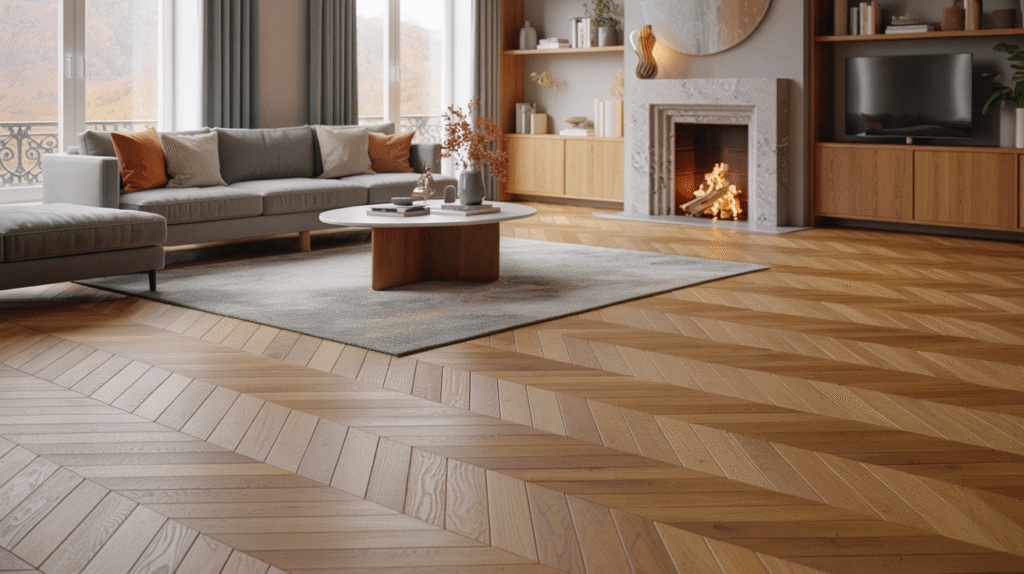
🎨 Design Tips: Styling Rooms with Herringbone Flooring
Herringbone isn’t just a floor—it’s a visual centerpiece. Here are some ways to make it stand out:
🪟 Use Light to Highlight Pattern
Install herringbone so that natural light hits the “V” shapes. This enhances depth and shadow play.
🪑 Choose Complementary Furniture
- In classic settings, go for tufted chairs, wainscoting, and brass accents.
- In modern homes, contrast with minimalist furniture and matte finishes.
🎨 Wall Colors Matter
- Light walls enhance the texture of dark wood flooring.
- Darker walls work well with pale oak or whitewashed herringbone.
🚪 Transition Spaces
Use metal or wood transition strips when herringbone meets tile, carpet, or other flooring styles to preserve pattern continuity.
🪞 Go Vertical
Some designers use leftover herringbone blocks for:
- Accent walls
- Ceiling features
- Stair risers
The pattern’s elegance isn’t limited to floors.
✅ Final Checklist Before You Celebrate
Use this quick checklist to ensure your herringbone floor is perfectly laid and ready for long-term use:
- 🔲 Subfloor is clean, dry, and level
- 🔲 Centerline was established before laying
- 🔲 Adhesive used is suitable for wood parquet
- 🔲 Pattern is symmetrical and aligned
- 🔲 Expansion gaps (10–15mm) are consistent
- 🔲 Edges and obstacles are neatly finished
- 🔲 Floor is sealed (if raw wood) and dry
- 🔲 Cleaning tools and pads are in place
- 🔲 Furniture pads and rugs are ready
If you’ve checked all these boxes—congratulations! You’ve successfully installed one of the most elegant flooring patterns available.
🧠 Final Thoughts: Why It’s Worth the Effort
Laying herringbone parquet flooring is not just another home improvement task—it’s a craftsmanship journey. Whether you do it yourself or hire professionals, the result is a stunning, timeless floor that can dramatically transform any space.
The pattern’s symmetry, history, and warmth are unmatched. And with proper installation and care, your floor can last for decades, increasing both the aesthetic and resale value of your home.